Configuring VMware AutoDeploy Feature
AutoDeploy is a new feature of VMware vSphere 5.0 and it’s the most efficient way to provision a new server as as ESXi 5.0 box, along this guide I’ll be configuring AutoDeploy and I’ll be using my workstation as the lab also I’ll be using VMware vCenter Serve Appliance as my vCenter server.
[What you’ll need:]
- A vCenter 5.0 Server with AutoDeploy installed/enabled (case of vCenter Server Appliance /vSA).
- A TFTP server.
- A DHCP server.
- Download ESXi Offline Bundle (logon with your VMware account and then go to the downloads section, when you choose ESXi you’ll have multiple options to choose from and one of them is the Offline Bundle and it comes in two flavors [iSCSI support] and [without iSCSI support].
- VMware PowerCLI (requires Powershell 2.0).
- A physical server that’s capable of PXE booting.
[Configuring vCenter 5.0:]
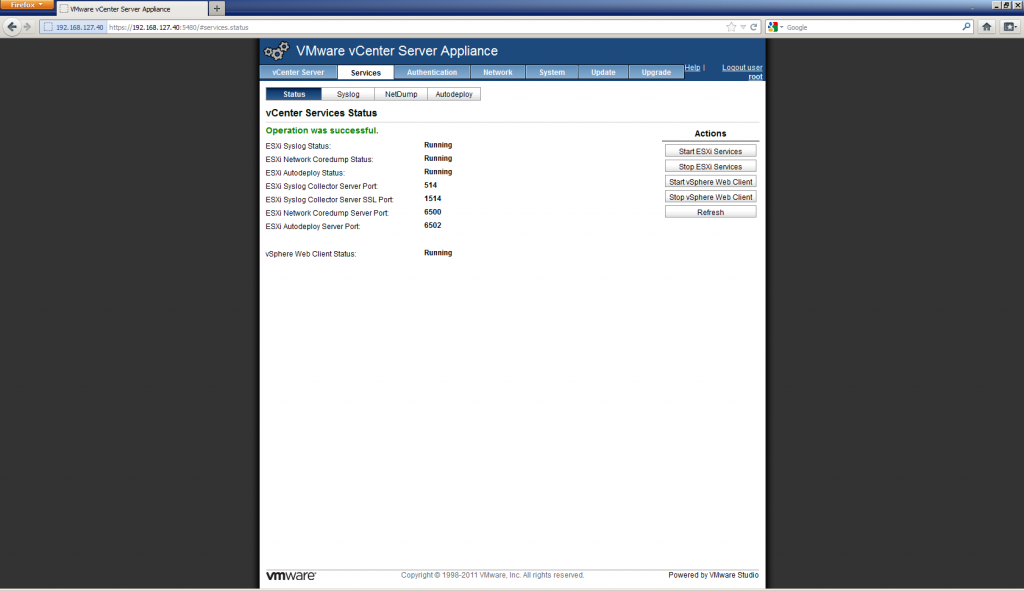
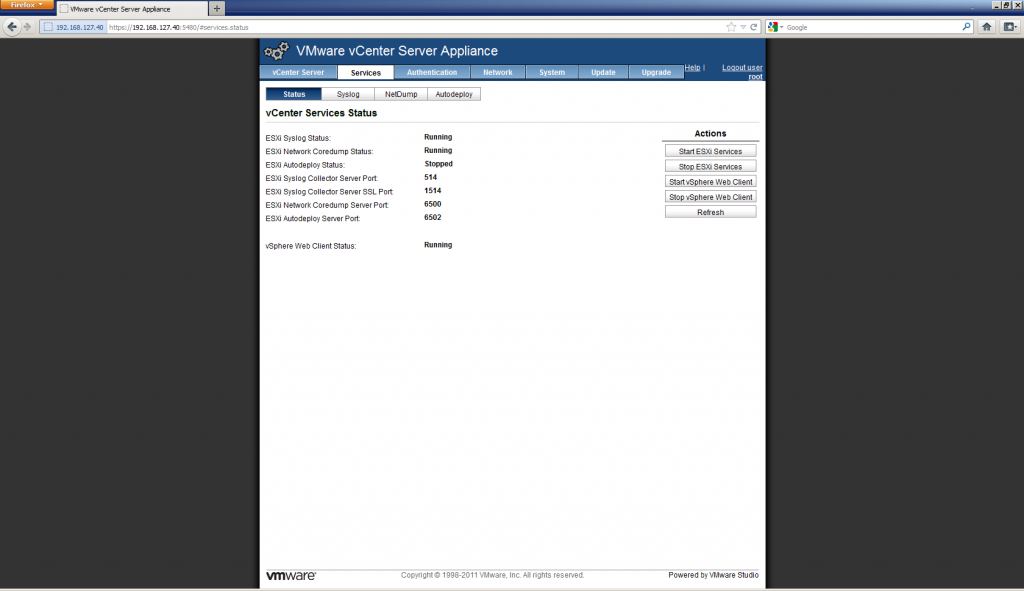
Since we’re going to use the vCenter Server Appliance here, enabling AutoDeploy is just a matter of running a service, logon to your vSA (https://<your_vsa>:5480), go to the services tab where the status sub-tab shows directly and you can notice that the AutoDeploy service is stopped.
On the Actions pane, click on ‘Start ESXi Services’ to start the AutoDeploy service.
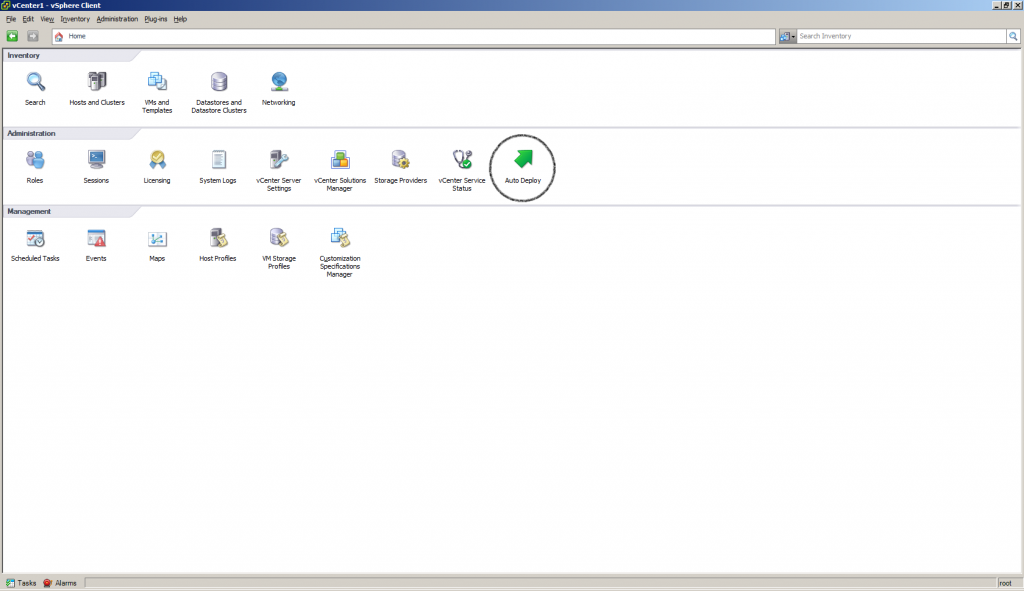
Now you can run your vCenter Client and you’ll notice at the home panel the AutoDeploy feature is now present.
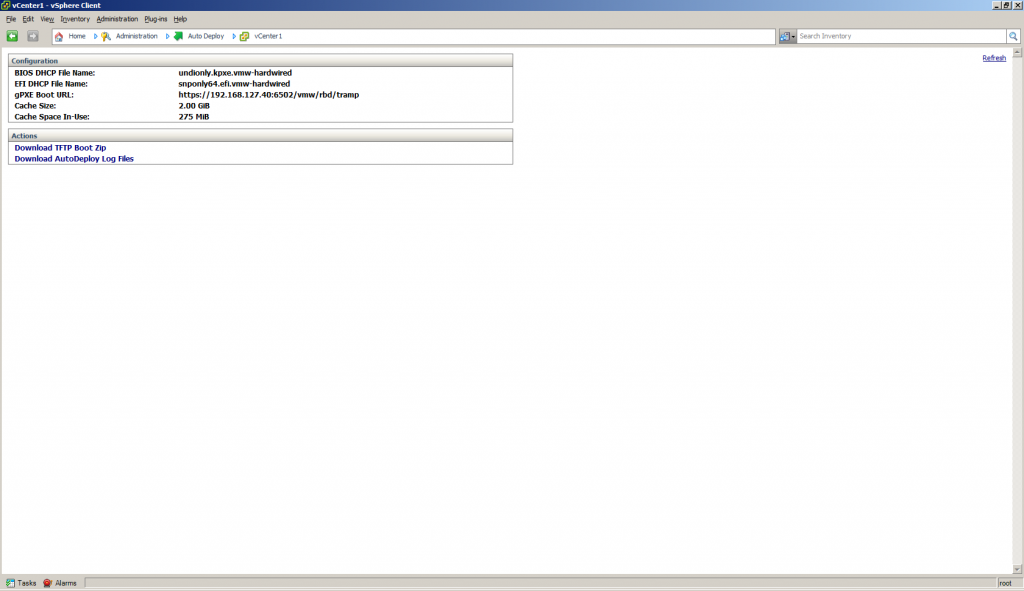
Click on the AutoDeploy icon and then click on ‘Download TFTP Boot Zip’ to where you TFTP server is installed then uncompress its files directly to it’s root directory, if you have a Linux box to spare you can configure it to act as your TFTP server otherwise I recommend using this free TFTP server from Solarwinds.
Note that the same steps are performed whether you use a vCenter Server Appliance or a vCenter Server installed on a Windows box.
[Configuring your DHCP Server:]
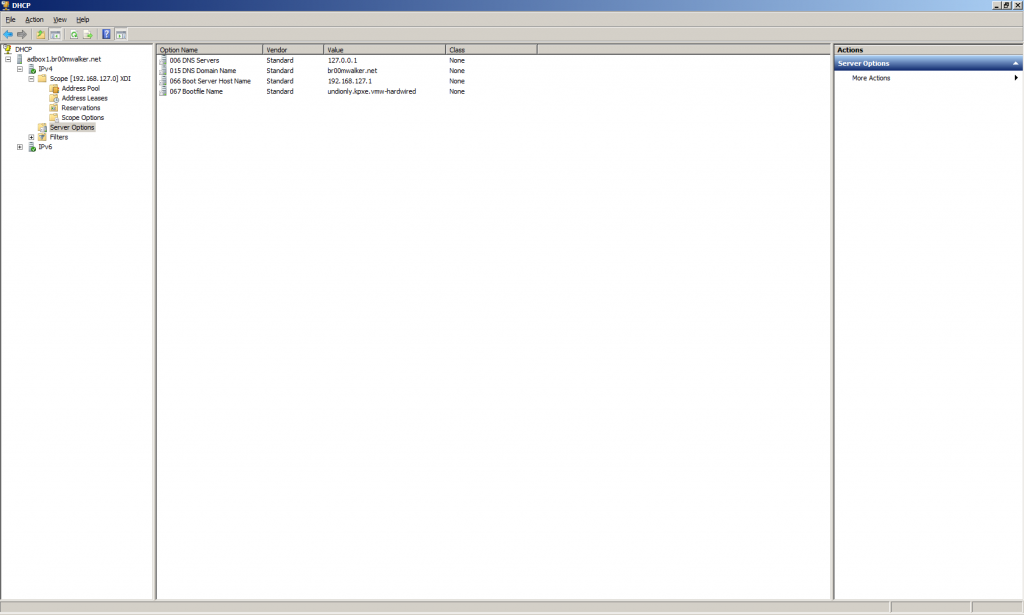
I’m using a Windows Server 2008 R2 as my DHCP server, you can feel free to use whatever you feel most comfortable with, we have to configure two options in our DHCP server, you can choose to either configure this in the ‘Scope Options’ or you can configure it in ‘Server Options’ both will work as this is more of an administrative choice:
- Option 66 ‘Boot Server Host Name’ which is the IP address of our TFTP server.
- Option 67 ‘Boot File Name’ which is the file that will be used by the server when it PXE boots up and connects to the TFTP server, now the file which we need should by now be in the TFTP server’s root amongst the other files that we uncompressed from the AutoDeploy TFTP Boot Zip, the filename is ‘undionly.kpxe.vmw-hardwired‘.
[At This Stage:]
At this stage if you try to boot-up your server, you’ll be flushed out of PXE because the result states that there is no ESXi image associated with the host and it will endlessly keep rebooting unless you continue reading ;-).
[ESXi Offline Bundle:]
There is not much to it, just place the zip file on the server/pc where PowerCLI will be installed example ‘C:\Bundles’.
[Completing AutoDeploy via PowerCLI:]
Once you have Powershell 2.0 enabled (make sure you set the execution policy to ‘Unrestricted’) and installed PowerCLI successfully here is what we need to do:
1- Run PowerCLI
2- Connect to your vCenter server by typing ‘Connect-VIServer <your_vcenter_server>‘ you’ll be prompted to provide your credentials.
3- Now we have to point vCenter about where is the ESXi Offline Bundle by using this command: Add-ESXSoftwareDepot “C:\Bundles\ESXi500-201111001.zip”
4- In order to verify that the image has been saved successfully you can run: Get-ESXImageProfile, you’ll find that there are two options the first is standard which means that it comes with VMware Tools, and the second one is without VMware Tools.

5- Now that we have insured our new repository to be valid, we need to configure a deployment rule which will aid the server in its boot process while being PXEd, type New-DeployRule -Name Test -Item “ESXi-5.0.0-20111104001-standard” -Pattern “ipv4=192.168.127.200-192.168.127.210” now concerning the patterns this should be a unique identifier for your hardware server, you can for instance use MAC addresses or your can use manufacturer name etc, on your first AutoDeploy rule this will take sometime, later on when you create new rules it will not take that much because it will no longer need to upload the contents of the ESXi bundle.
6- Now that the rule is created we need to activate it so that it becomes a part of the working rule sets, type Add-DeployRule Test.
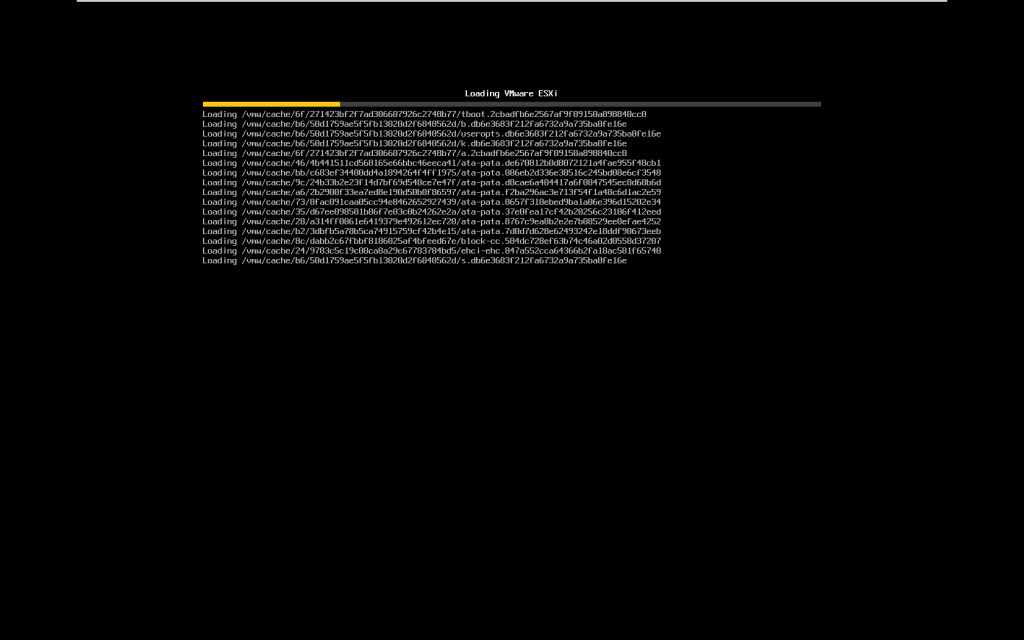
And we’re done, now you should power on your server and things will flow like charm :-), of course it might take a little bit longer for this installation to finish because it’ll need time to load the image into memory and then continue as a normal installation from there.
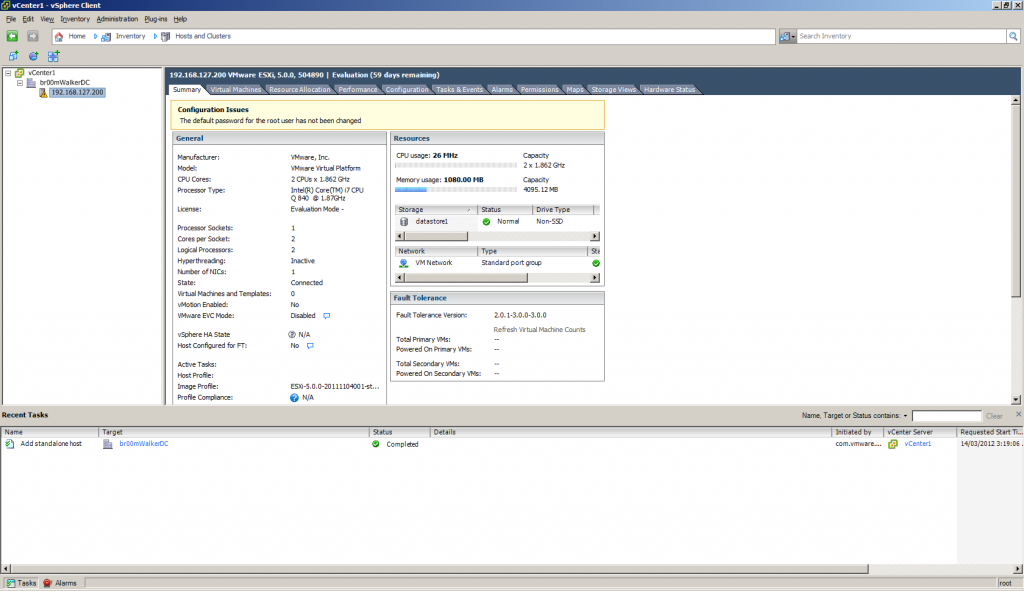
Finally when it’s done, your newly provisioned ESXi server will be added automatically to your vCenter.
Now you can apply a host profile on it or you can wait for my next tutorial on how to apply HostProfiles automatically when auto deploying ESXi hosts.
Best of luck.

An amazing article, thanks for the writing.