vSphere 5.0 Tip to Toe: Basic ESXi 5.0 Configuration
Commencing from where we left, now that our ESXi 5.0 hypervisor is up and running we’ll need to do some initial configuration before we can connect to it using the vSphere Client.
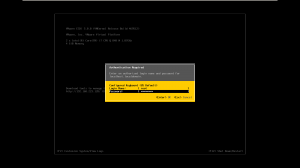
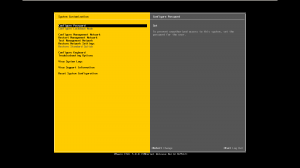
1- Go to your console, and press F2 this will prompt you to for root user’s authentication, once you’ve authenticated you’ll have to press F2 again to enter the configuration screen.
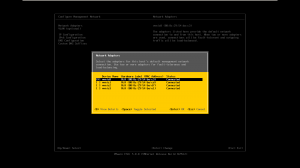
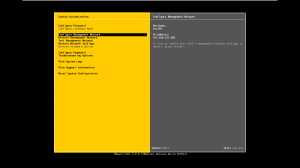
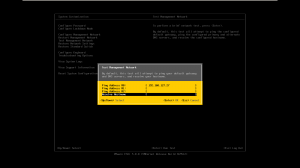
2- Once your in, obviously we’ll have to configure an IP address for the management network, here you’ll find all your NIC’s and you can choose any of them to be your management address. Please take into consideration that you can have only ONE address for management. enter the “Configure Management Network” window so that we can configure it’s IP address, Gateway and DNS.
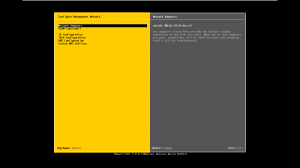
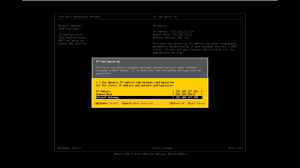
3- Once you’ve chosen your network adapter, move down and enter the IP Configuration screen, here you’ll enter the IP address, subnet mask and gateway, click enter to commit your changes.
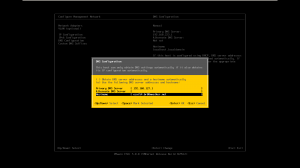
4- Now, select the DNS configuration and fill the info of you primary and secondary DNS servers also the hostname preferably to be an FQDN.
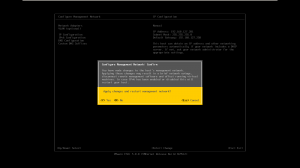
5- Finally to commit all configuration press ESC and you’ll be prompted to apply the changes and this process will restart the management network.
6- Now that we’ve configured our management network, you can notice on the top right that the hostname has changed and along the new IP address.
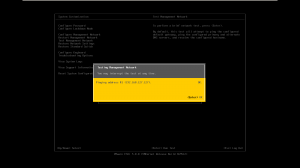
7- We can test it via the console using the embedded “Test Management Network” utility, once you’re back at the System Customization screen, select ‘Test Management Network’, once you’re prompted you’ll have three fields to perform a ping. Usually I would choose the DNS server and the gateway address which I believe are most important, additionally you can add the IP address of your workstation so that to verify you have connectivity to the management network as well. Finally the test will perform a hostname resolution which will verify your DNS settings.
Note: you might need to add an A record of your ESXi server manually to your DNS database otherwise the hostname resolution test will fail.
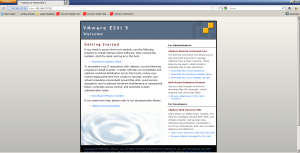
8- Now that we’ve properly configured and tested everything, you can open your browser from the workstation that have access to the management network, type the IP address / hostname of your ESXi server and you will reach the ESXi 5.0 homepage. In this page you’ll find a link to download the vSphere Client, browse the datastore and access resource full links fro mVMware to aid you with some advanced ESXi 5.0 features.
Next we’ll connect to your ESXi 5.0 box via vSphere Client and check all the features it offers us.
