Upgrade an Exchange 2010 DAG to SP2
In this post I will explaining on how to successfully upgrade your Exchange 2010 DAG members to SP2 knowing that this procedure can be used to perform any later roll-ups or upgrades what so ever.
A couple of points that I’d like to treat seriously before doing any major change in my infrastructure which is “the roll out strategy” in case something catastrophic happens and you need to restore everything to it’s past stable state.
If either it’s a virtual machine, or a physical server system backups or snapshots should be taken of all the servers that will be affected by this action and here namely we’re looking at Active Directory domain controllers and all members of the Exchange 2010 farm.
Now for the good stuff, the update will take place on your passive node (the one which is being seeded) even after we finish this one we’ll be making it the active node and then vise versa perform the same operation on the active node when it becomes passive.
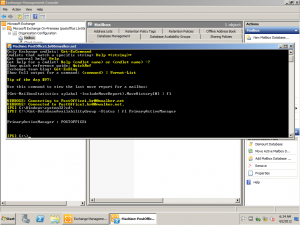
1- Check who’s controlling the activation: Get-DatabaseAvailabilityGroup -Status | fl PrimaryActiveManager this will not only provide you with the manager of activation but logically it implies that its also the primary node holding the active copy of the database.
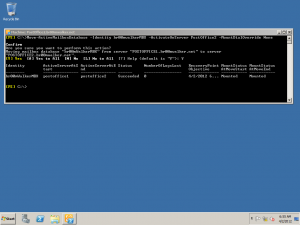
2- So now you will have to activate the mailbox copy on the other server, this can be done through the GUI interface or can be done using the cool Exchange 2010 powershell: Move-ActiveMailboxDatabase -Identity YouMailboxDatabase -ActivateOnServer ADAGMember -MountDialOverride None
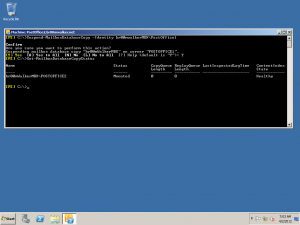
3- Now that we have our health database residing on another DAG member we need to suspend the current copy of the database on the server which we need to update Suspend-MailboxDatabaseCopy -Identity YourMailboxDatabase\TheServerWhichWeAReCurrentlyUpdating once you perform this command we will need to check on the copy status so that to make sure all is accounted for, type Get-MailboxDatabaseCopyStatus and you will notice that only one server shows as the other is suspended.
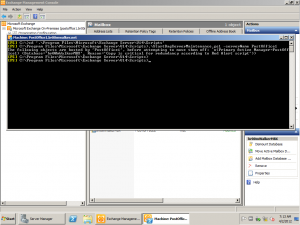
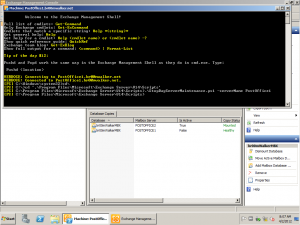
4- Now since this scenario suggests a DAG, Microsoft has script to put the DAG member in maintenance mode prior to performing any update or roll-up, while still in the Exchange 2010 powershell change your directory to “C:\Program Files\Microsoft\Exchange Server\V14\Scripts” once there type Start and click tab where you’ll be automatically completed with .\StartDagServerMaintenance.ps1 this script required a parameter names -serverName so type it after the script and put in the name of the server that you’re currently upgrading.
5- Before we continue you should add to the IIS role the “IIS 6 WMI Compatibility” service.
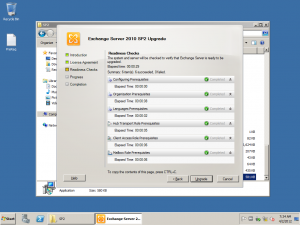
6- Now we can proceed with upgrading the current DAG member to SP2, remember to close the console and the Exchange 2010 powershell also from my personal experience if there is backup agent running on the server also kill its process as well, the update will take time according to your Exchange 2010 farm.
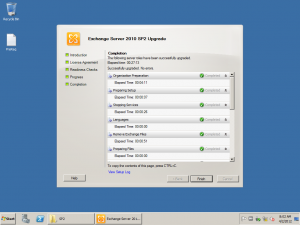
7- Once the upgrade is successfully done, I recommend that you reboot your server and then we will have to stop this DAG member from being in maintenance mode, as such go to the same directory as before “C:\Program Files\Microsoft\Exchange Server\V14\Scripts” and now type Stop then tab for auto-completion, place the parameter -serverName YourUpgradedNode, this will pull out the database copy from being in suspended mode as well as it will resume the database seeding so that all databases become in sync again.
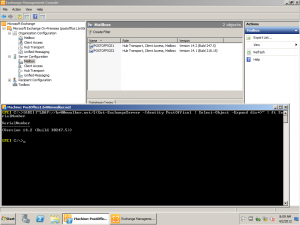
8- To verify that you’re on the build which you’ve upgraded it, first you’ll need to visit this page which will give you an idea on all builds that the Exchange Server’s went through till the latest and most current. You can view this through your GUI interface under the ‘Server Configuration’ subtree when you click on any of the roles, also from the Exchange 2010 powershell you can type : [ADSI]”LDAP://youactivedirectoryfqdn/$(Get-ExchangeServer -Identity YourUpgradedBox | Select-Object -Expand dis*)” | ft SerialNumber and match the result to the page which I’ve provided you with.
9- Repeat the steps mentioned earlier to all DAG members respectively and you’ll be done in no time =).
Abdullah^2
