vSphere 5.0 Tip to Toe: Installing ESXi 5.0
As most of creatures that dwell in this web-universe we’ll start it simple and clean, in this series I will be trying to fillfull and comprehensive self-teaching course on vSphere 5.0 in it’s technical aspects using on hand screenshots and tips.
I know most of you might like to see a video of all of this, but alas I believe that streaming media is not available for all organizations and might be blocked my many due to security or business designated rules, thus a BLOG never fails to be caught in a search engine’s spider web :-).
Just for more elaboration, the series is only a how-to and a reference and it does not act a a full training, if you require training you should do it properly in a class with a hands on experience and with instructors.
[Hardware Requirements]:
Please check this VMware publication for vSphere’s 5.0 hardware requirements, on the other hand if you’re not capable of purchasing a physical server to perform your tests you can get a good affordable workstation and most of them now support ESXi installations.
[Bootup and configuration]:
Now power on your server and commence with the setups, hereunder is a sequence of screenshots for all the screens that will come to pass from the boot up of the server till the installation has successfully ended:
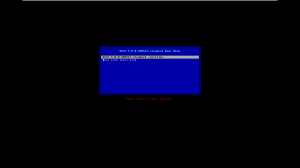
1- Boot-up the system, you’ll get the hereunder screen you can choose to install ESXi5 or you can boot-up your local HDD as-is and then you won’t have to continue with this post ;-).
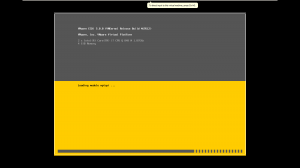
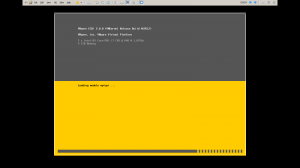
2- The installation files are being loaded into memory.
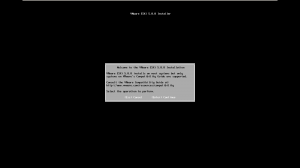
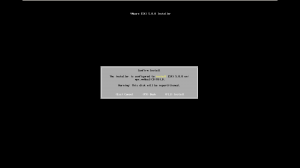
3-After the installation files are loaded successfully, you’ll be asked to confirm that this system is compatible with the ESXi5 hypervisor.
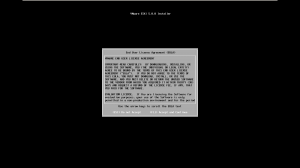
4-Now accept the EULA – End User License Agreement.
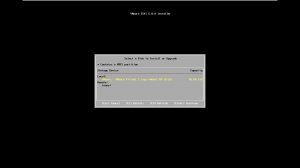
5- Since I’m performing this installation using VMware Workstation 8, the hard drive that is showing is apparently the virtual one, on other servers you’ll see your virtual RAID disk of course.
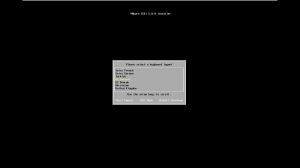
6- Choosing your keyboard layout.
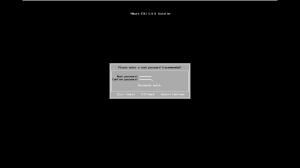
7- Type in your root account password, this is doesn’t suggest you type complex as the password dialogue won’t force you to abide by certain complexity rule, BUT you SHOULD have a certain sense of security and you should type in secure complex password.
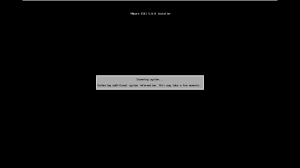
8- After the root password is set the system scans if any additional dialogues must be prompted and if the system administrator’s intervention is required.
9- ESXi5 installation confirmation.
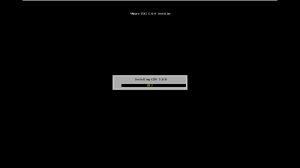
10- And the installation has begun :], it should take 10 minutes taking into consideration the system your installing it on.
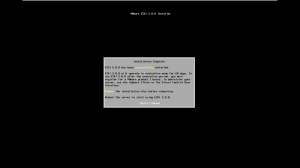
11- Once the installation is finished, it will request a reboot prior to initial start-up.
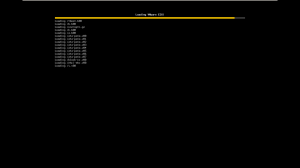
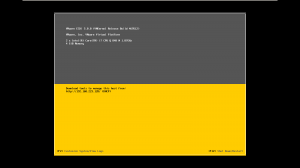
12- Now ESXi5.0 is starting up.
Now your equipped with the most UBER hypervisor a virtual machine can dream of being on ;-), in my next vSphere 5.0 Tip To Toe post I’ll show you how to do the initial configuration of it.
